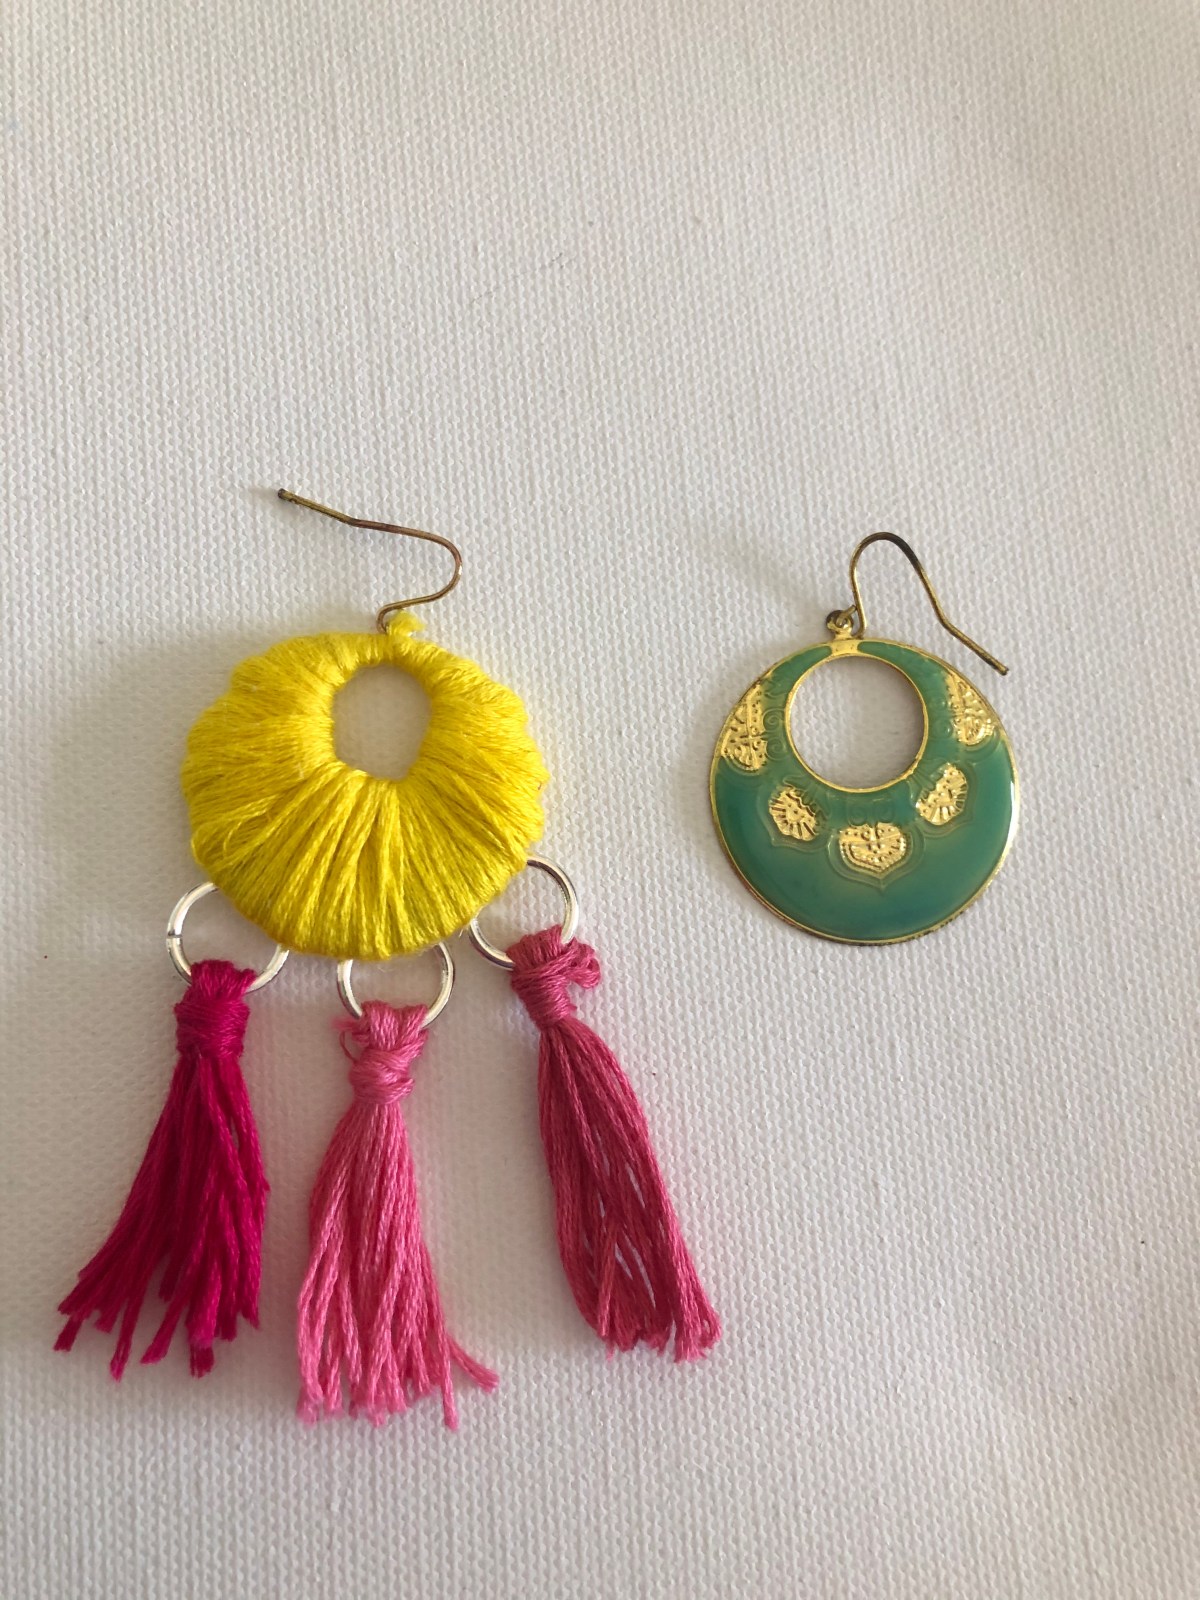
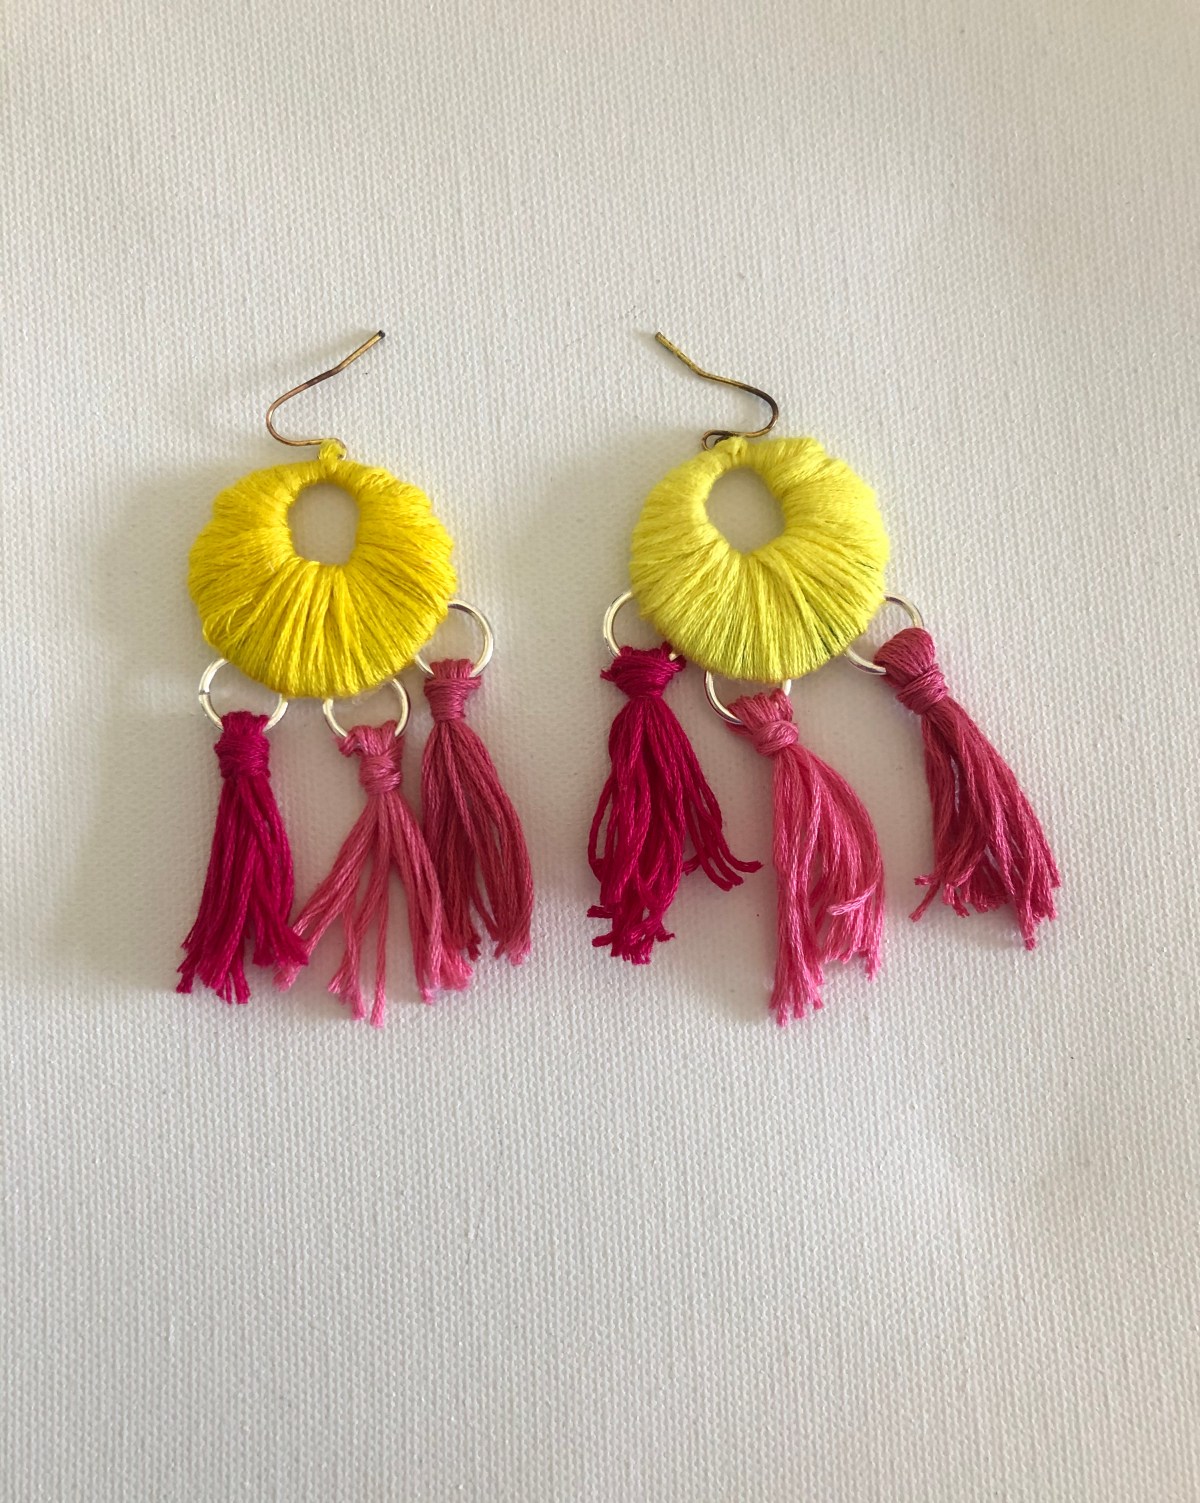
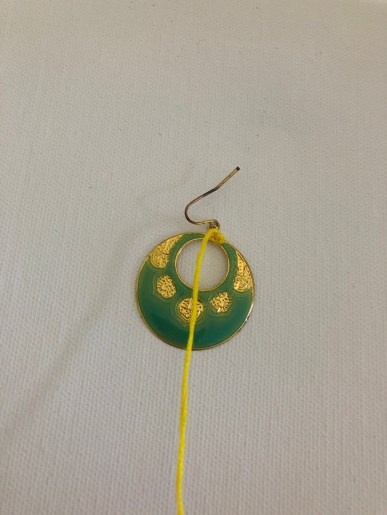
Another DIY project to keep your hands busy during the quarantine! The tassel trend is growing fast, and, with a little embroidery floss you can easily hop on that train:) We all probably have old costume jewelry that we don’t wear. Even if you can’t replicate my project exactly, I hope this inspires you to get creative with some old jewelry.
Supplies
- Old earrings
- Pliers & Scissors
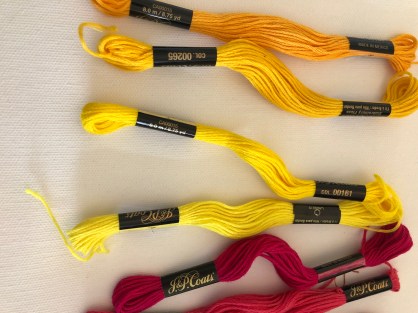
- Embroidery floss
- Small metal jewelry rings
Steps
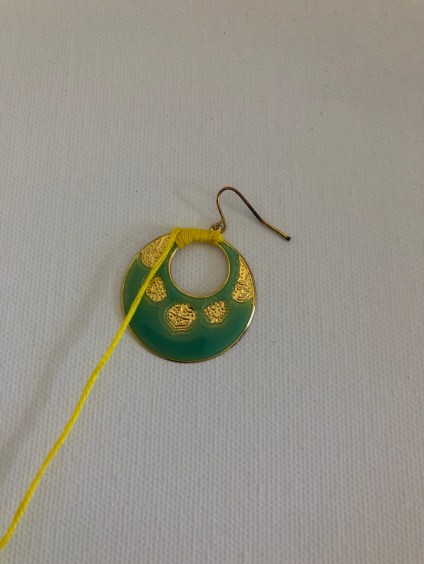
- Tie a small knot at the neck of the earring
- Begin wrapping the floss tightly around the earring. Make sure that you don’t leave any loose strands or visible spaces! If the floss starts to slide around, add a small dot of hot glue on the back of the earring to provide more support as you go.
- As you reach the base of the earring, thread in your metal rings. These are where you’ll start the tassels later.
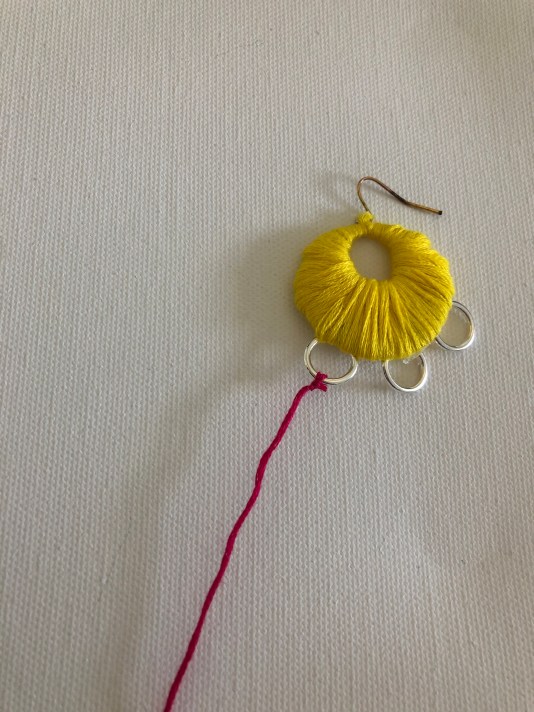
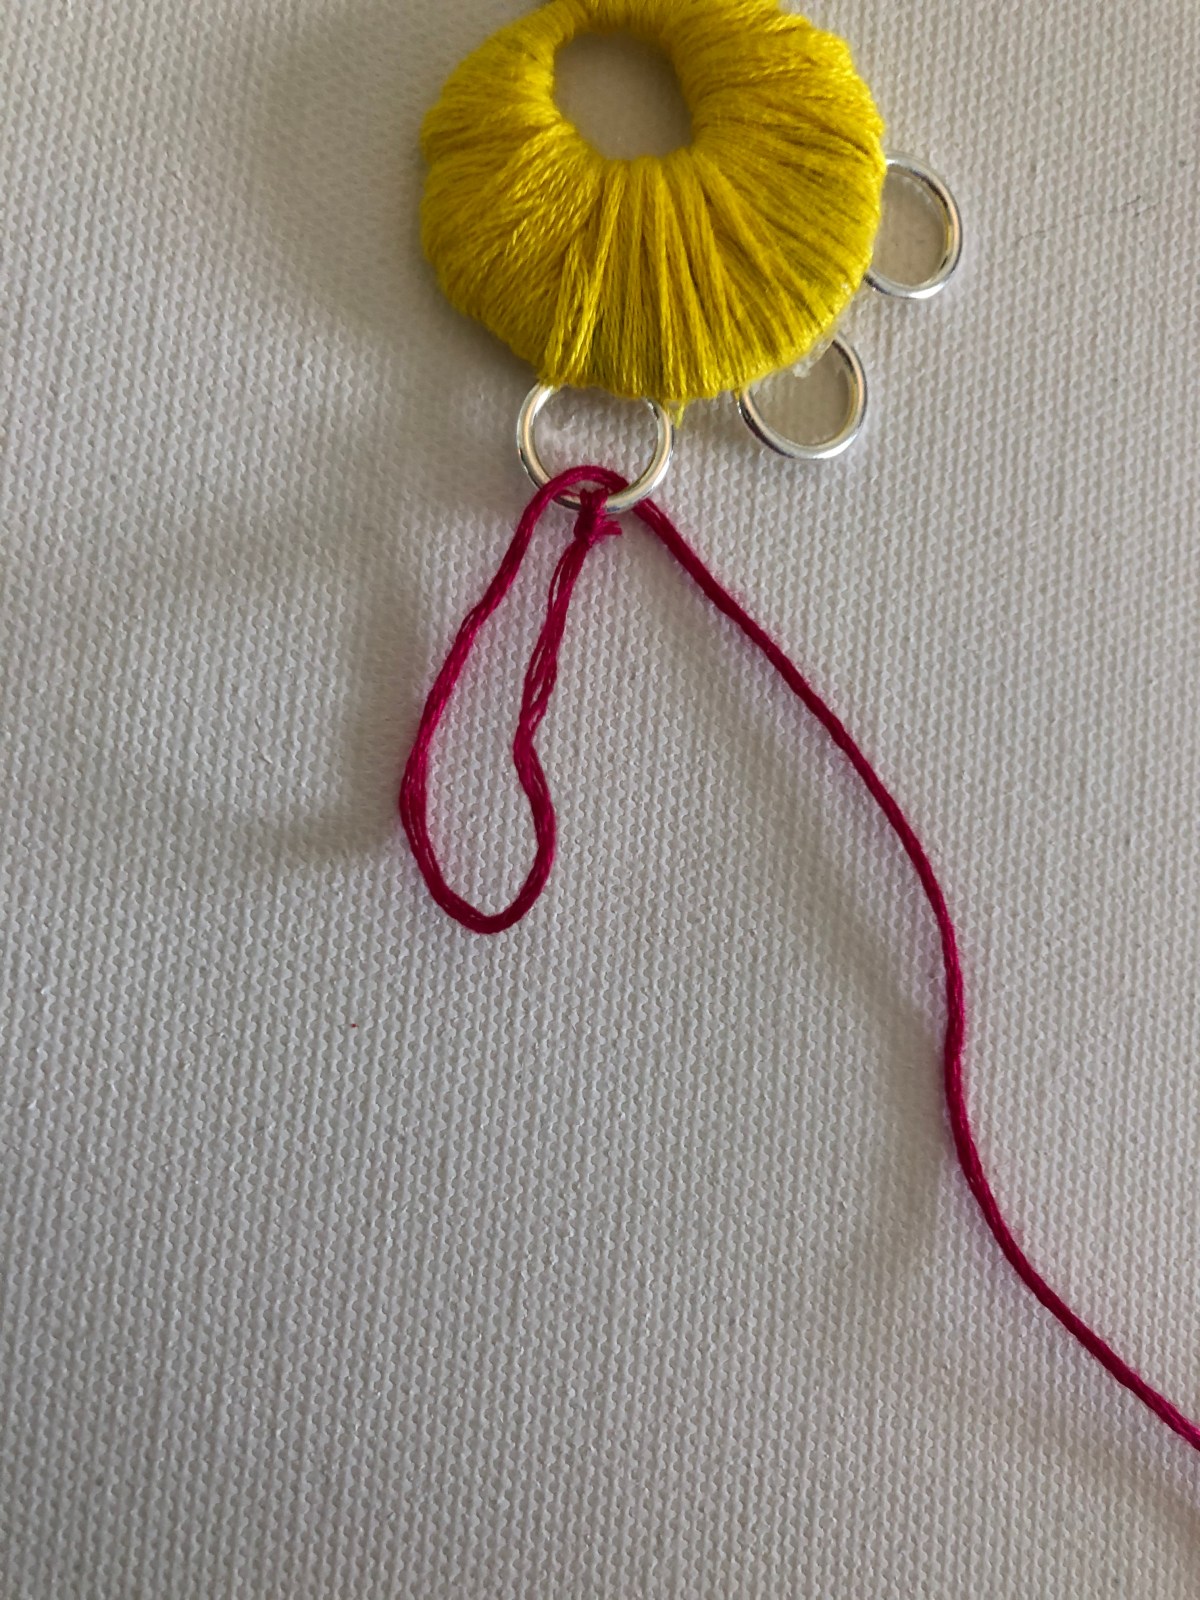
- When you’ve made your way completely around the earring with your first strand, tie off in a knot. Choose a different color to start you first tassel and knot the end around your ring.
- Start looping the new strand through the ring over and over until you reach your desired tassel thickness.
- Once you’ve reached this thickness, twist the same strand around the top of your loops to create the neck of the tassel. Tie off in a small knot and cut the extra floss. Cut the base of the loop to separate the strands of the tassel. Repeat the process for the other two rings.