Hello again lovelies:) With October coming to a close, we enter the ever-busy holiday season. I hope that you will continue to find small moments to see God’s presence. When autumn thickens and the cold air grows sharper I know it is easy to fall into what I like to call a “mumbly grumbly mood.” Instead of focusing on the negative effects of the weather, I just want to encourage you guys to be inspired by the God of change–the artist from whom all creativity flows. Hope this DIY inspires you to go out and put your lovely creative marks on the world : )
Today’s Project
The minute I saw this dress, I immediately fell in love! ( Funny how love at first sight is completely believable with clothes, not so much with people:) )
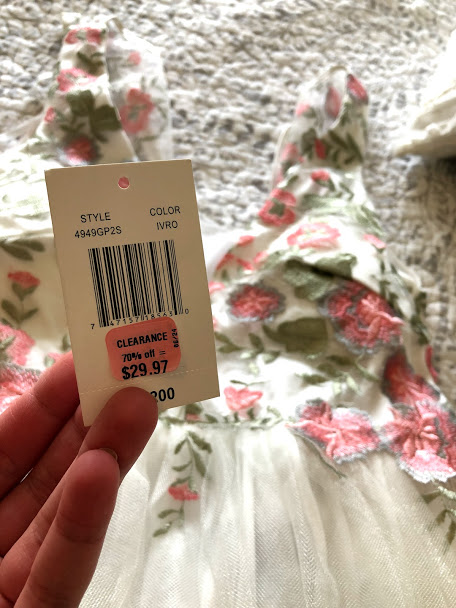
It was an amazing price, fit like a glove, and would be perfect for the upcoming Masquerade Ball at my university. Per usual, there was one small thing wrong with the dress. This time, the low-cut neckline was only ‘covered’ by a single layer of tulle.
This DIY is an easy way for all my non-seamstresses out there to save a few bucks on dress alterations. Tulle is a relatively inexpensive material that is easy to work with, and is definitely a good option if there are any sheer portions of your garment that you want covered.
Stepping Stones
Supplies List
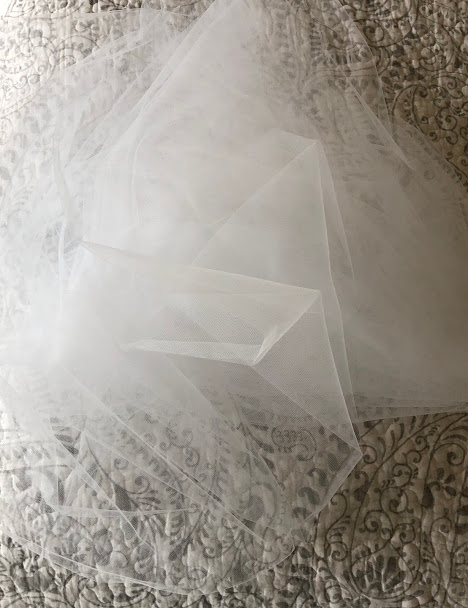
- 1 yd of tulle fabric
- Needle and Thread
- Pins
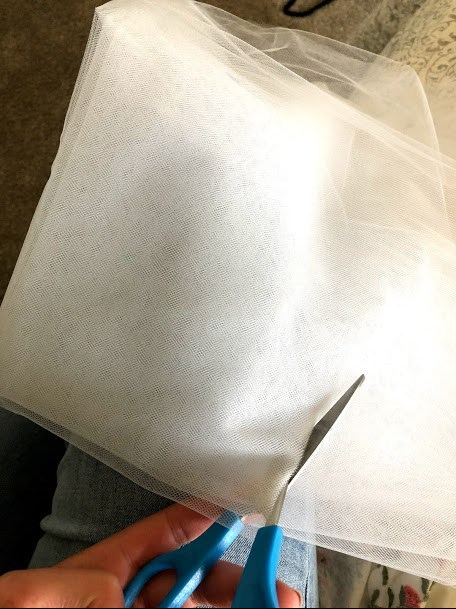
- Scissors
At the Store
I purchased three extra yards of material in case I needed the fabric for other projects. If you’re just trying to make a small neckline more modest, however, you could probably get by with just one or two yards, depending on the project.
Make sure the thread you buy matches the color of your garment. If you’re a sloppy seamstress like myself, best no one be seein’ those crooked stitches!
Fold it up
I folded up my material so that it would be easier to work with. This makes it easier to cut your fabric patch. Folding also allows you to achieve a thicker, layered look with the tulle.
After I cut my fabric, I used thread to stitch it into a square patch so that all of my layers would stay in place when I sewed it to the dress. This step is optional and can easily be substituted with pins.
Sewing time
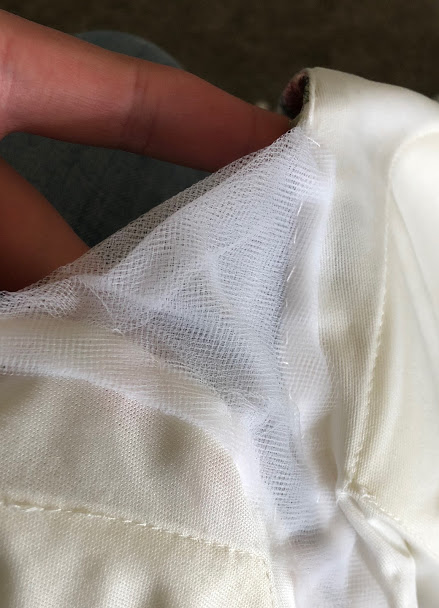
Now that I had a neat square of fabric to work with, I used pins to secure it onto the neckline of my garment. With white thread that matched the color of my dress, I stitched the patch following the edges of the dress’s neckline and trimmed away the excess fabric.
The Finished Product
After it was all said and done, I spent about $40 total and ended with a dress that perfectly suits my needs. I was able to maintain the original look of the dress even with an altered neckline. Once again, a sprinkle of creativity and something was made new. Bippity Boppity Boo, a touch of tulle, and it’s a new dress!


Have questions, food for thought, or suggestions for my next project? Please like this post and leave your comments below! Like this blog? Don’t forget to hit the menu tab and subscribe!

Omg I love this! It’s so simple but looks so good! I would be nervous to alter such a pretty dress but you did an amazing job:)
LikeLiked by 1 person
I was definitely a little nervous, but it helps that I didn’t spend the original price on the dress. These kinds of projects would definitely be fun to do on thrift store dresses as well!
LikeLike
So Cute! Love!
LikeLike
What a beautiful dress!
LikeLike
I am sure the dress was a hit at your Masquerade Ball. Your creativity shines through this dress project. Kudos and blessings!
LikeLiked by 1 person